
How to Clean Ceiling Panels: A Maintenance Reality Check for Architectural Acoustic Systems
Walk into almost any commercial interior and look up. The ceiling is usually the largest uninterrupted surface in the room – and the one most likely to be ignored. Teams rarely think about it until something goes wrong: blotchy discoloration, visible dust, yellowing near diffusers, or panels that simply look “tired.”
That’s where the conversation around how to clean ceiling panels becomes less about housekeeping and more about asset protection. In architectural spaces, ceilings are not just visual finishes – they are part of the acoustic strategy, a contributor to occupant comfort, and a meaningful line item in long-term maintenance budgets. When they deteriorate, the impact shows up in complaints, costly replacements, and avoidable downtime.
This article focuses on architectural acoustic ceiling systems – metal panels, wood systems, wood fiber panels, baffles, and clouds – not commodity drop-in tiles. It’s intended to clarify what real-world acoustic ceiling panel maintenance looks like, and where cleaning acoustic ceiling panels helps (or hurts) performance over time.
Why Architectural Acoustic Ceilings “Fail” in Real Buildings
Most ceiling systems don’t fail because of manufacturing issues. They fail because of how they’re treated after installation.
In practice, deterioration is usually a combination of small, compounding issues:
- Poor or overly aggressive cleaning methods
- Ignored leaks or recurring moisture exposure
- Dust-heavy HVAC conditions
- Repeated handling near access points
- No defined ceiling panel maintenance schedule
- No clear operations handoff after construction
What looks like material failure is often maintenance drift. Without a plan, even high-quality systems accumulate dust buildup on acoustic panels, develop uneven wear, and lose their intended appearance.
Better upkeep preserves both aesthetics and performance. Poor upkeep accelerates replacement cycles.
What Aging Really Looks Like in Acoustic Ceiling Systems
Ceiling systems don’t age in one uniform way. They show wear differently depending on the material, environment, and access patterns.
Common aging patterns include:
- Dust loading: especially near returns, diffusers, and open ceiling zones influenced by airflow
- Surface film: subtle buildup that dulls finishes over time
- Fingerprints and smudges: particularly around access panels, lighting, and service points
- Humidity and condensation: leading to water stains on ceiling panels or edge swelling
- UV discoloration: gradual color shift in sunlit areas
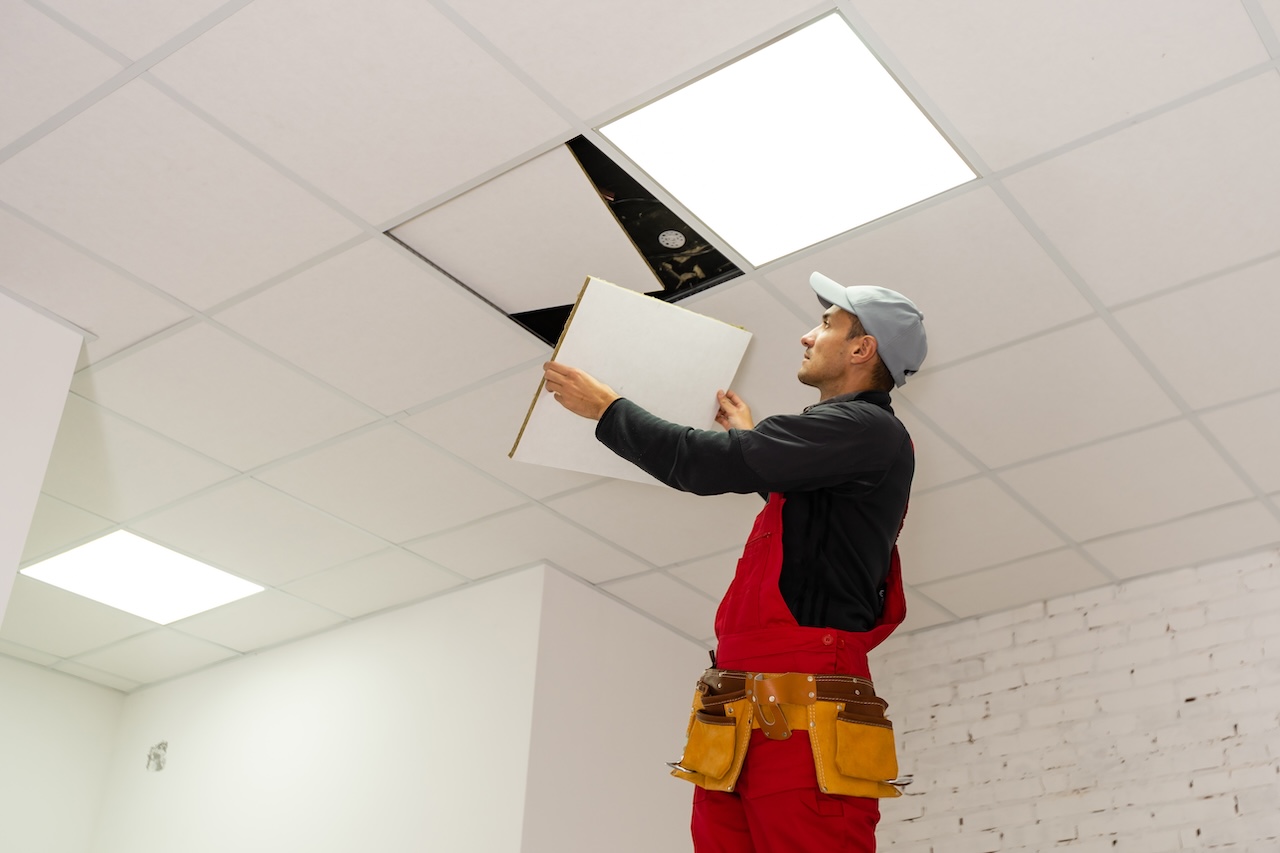
- Impact damage: from ladders, lifts, or sports equipment
- Misalignment: repeated removal and reinstallation affecting panel fit
Different materials respond differently. Metal systems may show dust in perforations. Wood veneer panels may show subtle finish wear. Wood fiber panels may reveal uneven discoloration if over-cleaned.
Importantly, aging does not automatically mean replacement. Many conditions are surface-level and manageable with the right approach.
Why Cleaning is Not Only an Aesthetic Issue
It’s easy to think of cleaning as cosmetic. In acoustic systems, that’s only part of the story.
Dust and residue can influence performance:
- Perforations and grooves clogging: reducing sound absorption in microperforated systems
- Porous surfaces trapping particles: especially in wood fiber panels
- Greasy film accumulation: altering surface behavior in kitchens or hospitality environments
Over time, HVAC dust and ceiling panels interact in ways that can subtly reduce acoustic effectiveness. That doesn’t mean every panel needs aggressive cleaning – but it does mean that proper maintenance supports both comfort and appearance.
The Cleaning Hierarchy
The most reliable rule in architectural ceiling panel care is simple: do the least harm first.
- Dry dusting
Use a soft microfiber cloth with very light pressure. This is the safest starting point for most systems. - Gentle vacuuming
A soft brush attachment with low suction helps remove loose dust without damaging finishes. - Targeted spot-cleaning
Address fingerprints on ceiling panels using the mildest approved method. Always test first. - Controlled damp wiping
Only when the material and finish allow it. Moisture should be minimal and carefully managed. - Replace when necessary
If the face, finish, or core is compromised, cleaning won’t solve the issue.
Test-first logic matters at every step. One aggressive cleaning attempt can do more damage than years of light neglect.
Table 1: Cleaning Methods by Ceiling Material
| Material type | Routine dusting method | Spot-clean method | What to avoid | When to replace |
| Perforated metal panels | Soft microfiber or low-suction vacuum | Minimal damp wipe if finish allows | Abrasives, harsh solvents, aggressive scrubbing | Corrosion, bent perforations, finish damage |
| Wood veneer panels | Dry microfiber or gentle vacuum | Very limited spot cleaning, test first | Over-wetting, harsh chemicals, rubbing through finish | Delamination, swelling, finish failure |
| Wood fiber panels | Vacuuming is usually safest | Localized treatment only, very carefully | Heavy wet cleaning, saturation, stain spreading | Softened core, deep staining, edge damage |
| Baffles and clouds | Light dusting and low-suction vacuum | Product-specific spot treatment if approved | Pulling, over-flexing, aggressive suction | Structural distortion, torn face, visible warping |
| StrandTec or similar panel systems | Gentle dry cleaning, careful vacuuming | Follow approved method only | Saturation, rough cloths, strong disinfectants | Persistent stains, edge breakdown, repeated handling damage |
Material-by-Material Guidance for ASI-Type Ceiling Systems
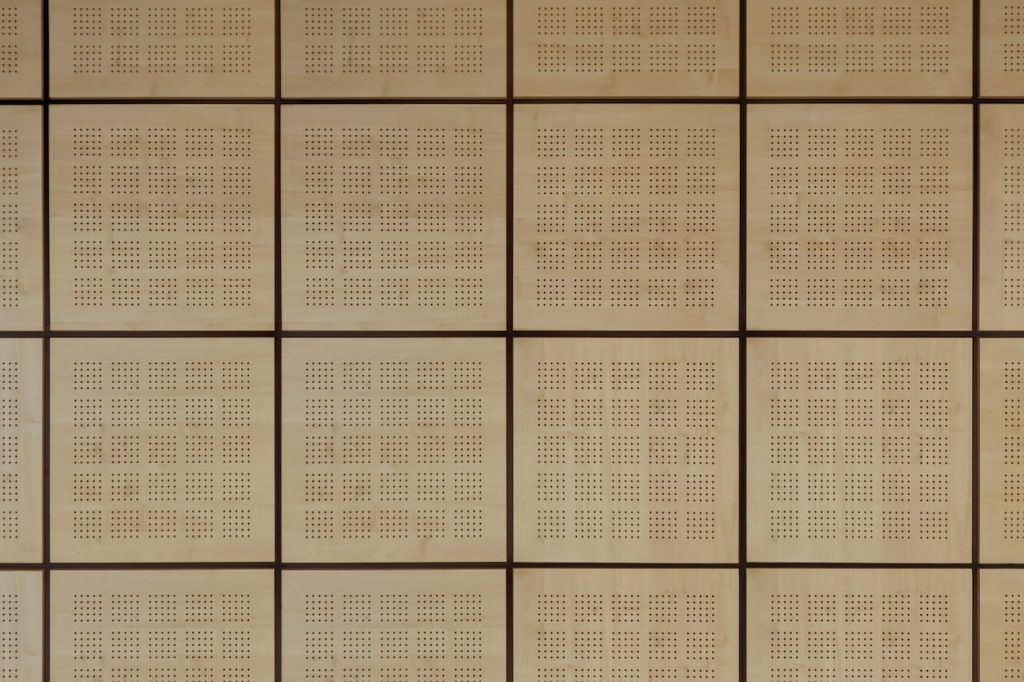
Perforated and Microperforated Metal Panels
When it comes to cleaning perforated metal ceiling panels or cleaning microperf ceiling panels, dry methods are usually the safest starting point. Dust tends to settle in perforations and seams, so gentle vacuuming is often more effective than wiping.
Avoid abrasive pads or strong solvents. If you’re asking how to clean perforated ceiling panels, the answer is usually restraint – light tools, low pressure, and no aggressive scrubbing.
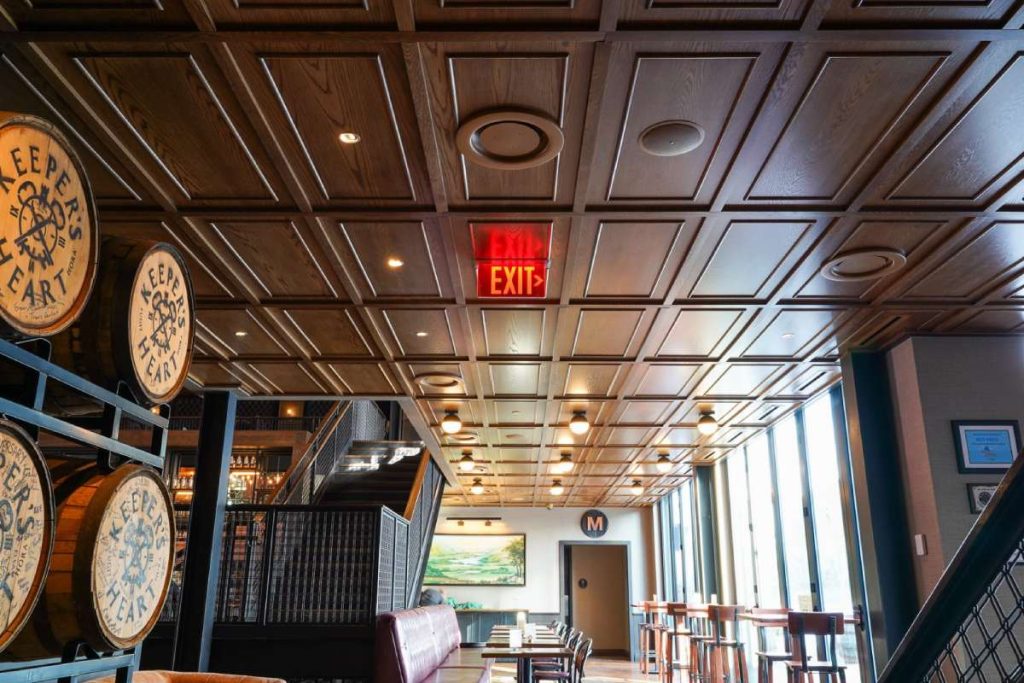
Wood Acoustic Ceiling Panels and Planks
Cleaning wood acoustic ceiling panels requires an understanding of finish sensitivity. Most wood systems tolerate dry microfiber cleaning and gentle vacuuming.
Moisture is the main risk. Areas near HVAC systems, exterior walls, or humid zones are especially vulnerable. Cleaning wood veneer ceiling panels with excessive moisture can lead to finish damage or subtle discoloration.
Wood Fiber Ceiling Panels
For cleaning wood fiber ceiling panels, vacuuming is typically the safest approach. These panels are more porous and can absorb moisture unevenly.
Wet cleaning can cause staining, softening, or visible inconsistencies. Starting dry and escalating carefully helps avoid creating new problems.
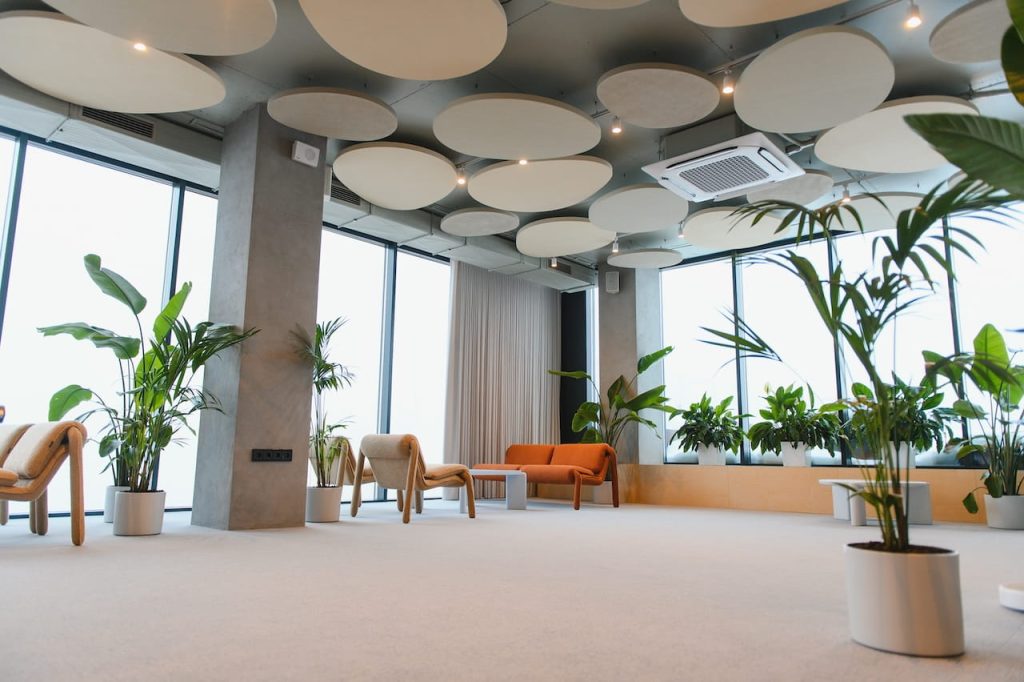
Baffles, Beams, Clouds, and Open Ceiling Elements
Cleaning ceiling baffles and cleaning ceiling clouds introduces a different challenge: access.
These elements often collect dust on upper surfaces that go unseen. Improper lift use or handling can cause more damage than the dust itself – edge dents, surface scuffs, or misalignment.
Careful access planning matters as much as cleaning technique. In most cases, that means light dusting or low-suction vacuuming from stable access points, without overhandling the panel edges.
Textured Panel Systems
Textured systems – like strand-based or composite panels – hold dust differently. Routine, repeatable dry cleaning is key. Over-cleaning or inconsistent methods can create uneven appearance patterns.
What to Use and What to Avoid
Approved tools are simple:
- Soft microfiber cloths
- Soft brush vacuum attachments
- Low suction settings
- Neutral, finish-safe cleaners (only when needed)
Always test in a small, hidden area first.
Avoid:
- Bleach-heavy cleaners
- Harsh solvents
- Abrasive pads
- Soaking cloths
- High-pressure spraying
- Aggressive scrubbing
And, practically speaking, avoid the all-too-common scenario: one rag, one bucket, and too much confidence.
Table 2: Maintenance Schedule by Space Type
| Space type | Weekly/biweekly | Monthly/quarterly | Annual | Notes |
| Offices and lobbies | Visual check at touch zones | Light dusting or vacuuming as needed | Full review of visible soil and access damage | Watch perimeter edges, diffusers, returns |
| Classrooms | Check for dust and impact marks | More frequent surface cleaning in high-use areas | Full condition review during breaks | Ball impact and ladder damage matter |
| Healthcare | Frequent visual inspection | Cleaning based on infection-control protocol and finish limits | Full condition and stain review | Follow approved cleaning guidance carefully |
| Restaurants and open kitchens | High-frequency visual checks | More frequent cleaning for grease and aerosol buildup | Deep review for yellowing, film, and replacement needs | Dry dusting alone may not be enough when grease on ceiling panels starts to accumulate |
| Gyms and studios | Watch humidity, dust, and scuffs | Routine cleaning around vents and exposed surfaces | Check for sagging or finish wear | Sweat, airflow, and impact all matter |
| Transit and public spaces | Frequent checks for dust and fingerprints | Scheduled cleaning at public-facing zones | Replace damaged units and review access strategy | Public contact points need extra attention |
Why Cleaning Frequency Changes by Environment
A once-a-year cleaning plan sounds reasonable – until you look at how buildings actually operate. Different spaces present different potential soil levels.
- Low-soil spaces: private offices, low-traffic meeting rooms
- Medium-soil spaces: corridors, classrooms, open offices
- High-soil spaces: kitchens, gyms, clinics, transit areas
Clean more often near diffusers, returns, access panels, and perimeter zones. That’s where problems usually start.
Common Problems and the Right Response
Fingerprints and Smudges
These cluster near lighting and access points. Start with the gentlest method. Avoid grinding the mark deeper into the finish.
Water Stains
Always fix the source first. Then determine whether the issue is surface-level or structural.
Grease and Film Buildup
Common in hospitality settings. Dry dusting alone won’t solve it – targeted cleaning is required.
Rust or Corrosion on Metal
Often signals moisture issues. Early attention makes a difference.
Sagging or Misalignment
Could indicate humidity, handling damage, or repeated access issues.
Table 3: Do and Do Not Quick Guide
| Do | Do not |
| Start with the gentlest dry-cleaning method | Start with wet cleaning out of habit |
| Test a small area first | Assume one method works for every ceiling finish |
| Use low suction and soft attachments | Jam a high-power vacuum into perforations |
| Handle panels by approved access points | Grab panel faces with dirty hands |
| Fix leak sources before treating stains | Try to scrub out an active leak stain |
| Keep spare panels for visible areas | Wait until a damaged finish becomes a full replacement headache |
| Document cleaning methods in the O&M manual | Leave facilities teams guessing |
Replace vs. Clean Ceiling Panels
Knowing when to stop cleaning is just as important as knowing how to start.
Replace if:
- The core is swollen
- The face is delaminating
- Finish damage is obvious
- Stains keep returning
- Corrosion is progressing
- Edges are repeatedly damaged
Clean if:
- The issue is surface-level
- The finish is intact
- The system remains aligned
Keeping a small stock of spare panels for high-visibility areas can make these decisions much easier in practice.
Closeout and Operations Handoff
Maintenance problems often start at project closeout.
A complete O&M manual should include:
- Approved cleaning methods by material
- Prohibited tools and chemicals
- Access strategies
- Spare panel quantities and storage locations
- Finish specifications
- Leak response procedures
- Coordination notes with lighting, HVAC, and sprinklers
Good documentation removes guesswork. Without it, even well-intentioned teams default to trial and error.
A Simple Maintenance Plan Facilities Teams Can Follow
Effective facility management acoustic ceilings strategies don’t need to be complex – they need to be consistent, especially for teams learning how to maintain acoustic ceiling panels over time.
- Monthly visual walkthrough
- Quarterly light cleaning in problem zones
- Annual condition review
- Immediate response to leaks, grease, or impact damage
High-risk environments – kitchens, gyms, transit areas – benefit from a more frequent, targeted approach.
The emphasis is on repeatability. Consistent, low-impact maintenance will outperform occasional deep cleaning every time.
Conclusion
Ceilings are easy to ignore – until they become the most obvious problem in the room.
Understanding how to clean ceiling panels in real architectural environments is less about deep cleaning and more about disciplined, low-impact maintenance. Done correctly, it protects acoustic performance, preserves appearance, and reduces avoidable replacement costs.
Viewed this way, cleaning is part of maintaining the original design intent – not just routine upkeep. Knowing how to clean ceiling panels the right way keeps systems performing as designed, long after the installation is complete.